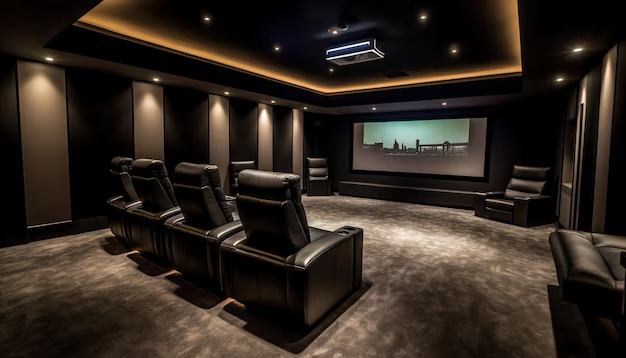
Setting up a home theater system can transform your entertainment experience. Whether you love movies, gaming, or watching sports, a well-installed home theatre creates an immersive experience that rivals commercial cinemas. In this guide, we’ll take you through the step-by-step process of setting up your home theater installation.
Planning Your Home Theatre Setup
Before diving into the installation, it’s important to plan your setup properly. Consider the following factors:
- Room Size and Layout: Choose a suitable room with minimal natural light and good acoustics.
- Budget: Set a budget based on your needs and the quality of equipment you want.
- Usage: Determine whether the system will be used mainly for movies, gaming, or music.
Choosing the Right Home Theatre Equipment
A good home theatre system consists of several key components. Here’s what you need:
1. Display Screen
- Choose between a large TV or a projector and screen setup.
- A 4K UHD TV or an OLED TV offers excellent picture quality.
- Projectors provide a more cinematic experience with a larger display size.
2. Audio System
- A 5.1 or 7.1 surround sound system enhances the immersive experience.
- Consider soundbars or in-wall speakers if you prefer a minimalistic setup.
- Ensure the audio system is compatible with your room size and layout.
3. AV Receiver
- The AV receiver acts as the central hub connecting all audio and video components.
- Ensure it supports the latest audio formats, like Dolby Atmos and DTS:X.
4. Media Player
- Streaming devices, Blu-ray players, or gaming consoles serve as content sources.
- Choose a device that supports high-quality video and audio formats.
Setting Up Your Home Cinema Step-by-Step
1. Position the Display Screen
- Mount your TV at eye level for comfortable viewing.
- If using a projector, place it at the correct distance from the screen based on its throw ratio.
2. Place the Speakers Correctly
- Front speakers should be placed at ear level and angled toward the seating area.
- The center speaker should be placed above or below the screen for clear dialogue.
- Surrounding speakers should be positioned behind or to the sides of the seating area.
3. Connect the AV Receiver
- Plug all your components into the AV receiver using HDMI cables.
- Connect the receiver to the TV using an HDMI ARC or eARC port.
- Run a sound test to ensure proper audio distribution.
4. Calibrate Audio and Video Settings
- Use the built-in room calibration feature in your AV receiver.
- Adjust brightness, contrast, and color settings on your display.
- Test surround sound to ensure all speakers are working properly.
5. Manage Cables and Power Supply
- Use cable management solutions to keep wires tidy.
- Consider using surge protectors to protect your equipment from power surges.
Enhancing Your Home Theatre Experience
Smart Lighting Control
- Install dimmable smart lighting for an authentic cinema feel.
- Set up automated lighting to dim when you start a movie.
Acoustic Treatment
- Add rugs, curtains, or acoustic panels to improve sound quality.
- Minimize echoes and outside noise for a better experience.
Seating Arrangement
- Use comfortable recliners or a sectional sofa.
- Arrange seating at the optimal distance from the screen for the best view.
Why Choose HomeTech1 for Your Home Theater Installation?
Setting up a home theatre system can be complex, but HomeTech1 makes it easy. Our expert team ensures professional installation, optimal sound setup, and seamless integration with your home automation system. Whether you need a complete home cinema setup or upgrades to your existing system, we provide top-quality service tailored to your needs.
Final Thoughts
A well-planned home theatre system brings the magic of the movies into your home. By carefully selecting your equipment, positioning it correctly, and optimizing the settings, you can enjoy an immersive viewing experience. If you need expert assistance, HomeTech1 is here to help with professional home theatre installation services.


